Artist Guest Post: Cinemagraph Ad for Brathwait Watches (by Virgo Haan)
In our first “guest post”, cinemagraph maestro and gallereplayer Virgo Haan takes us through the pre-production and shooting process of his celebrated cinemagraph for Brathwait Watches.
STEP 1. PLAN
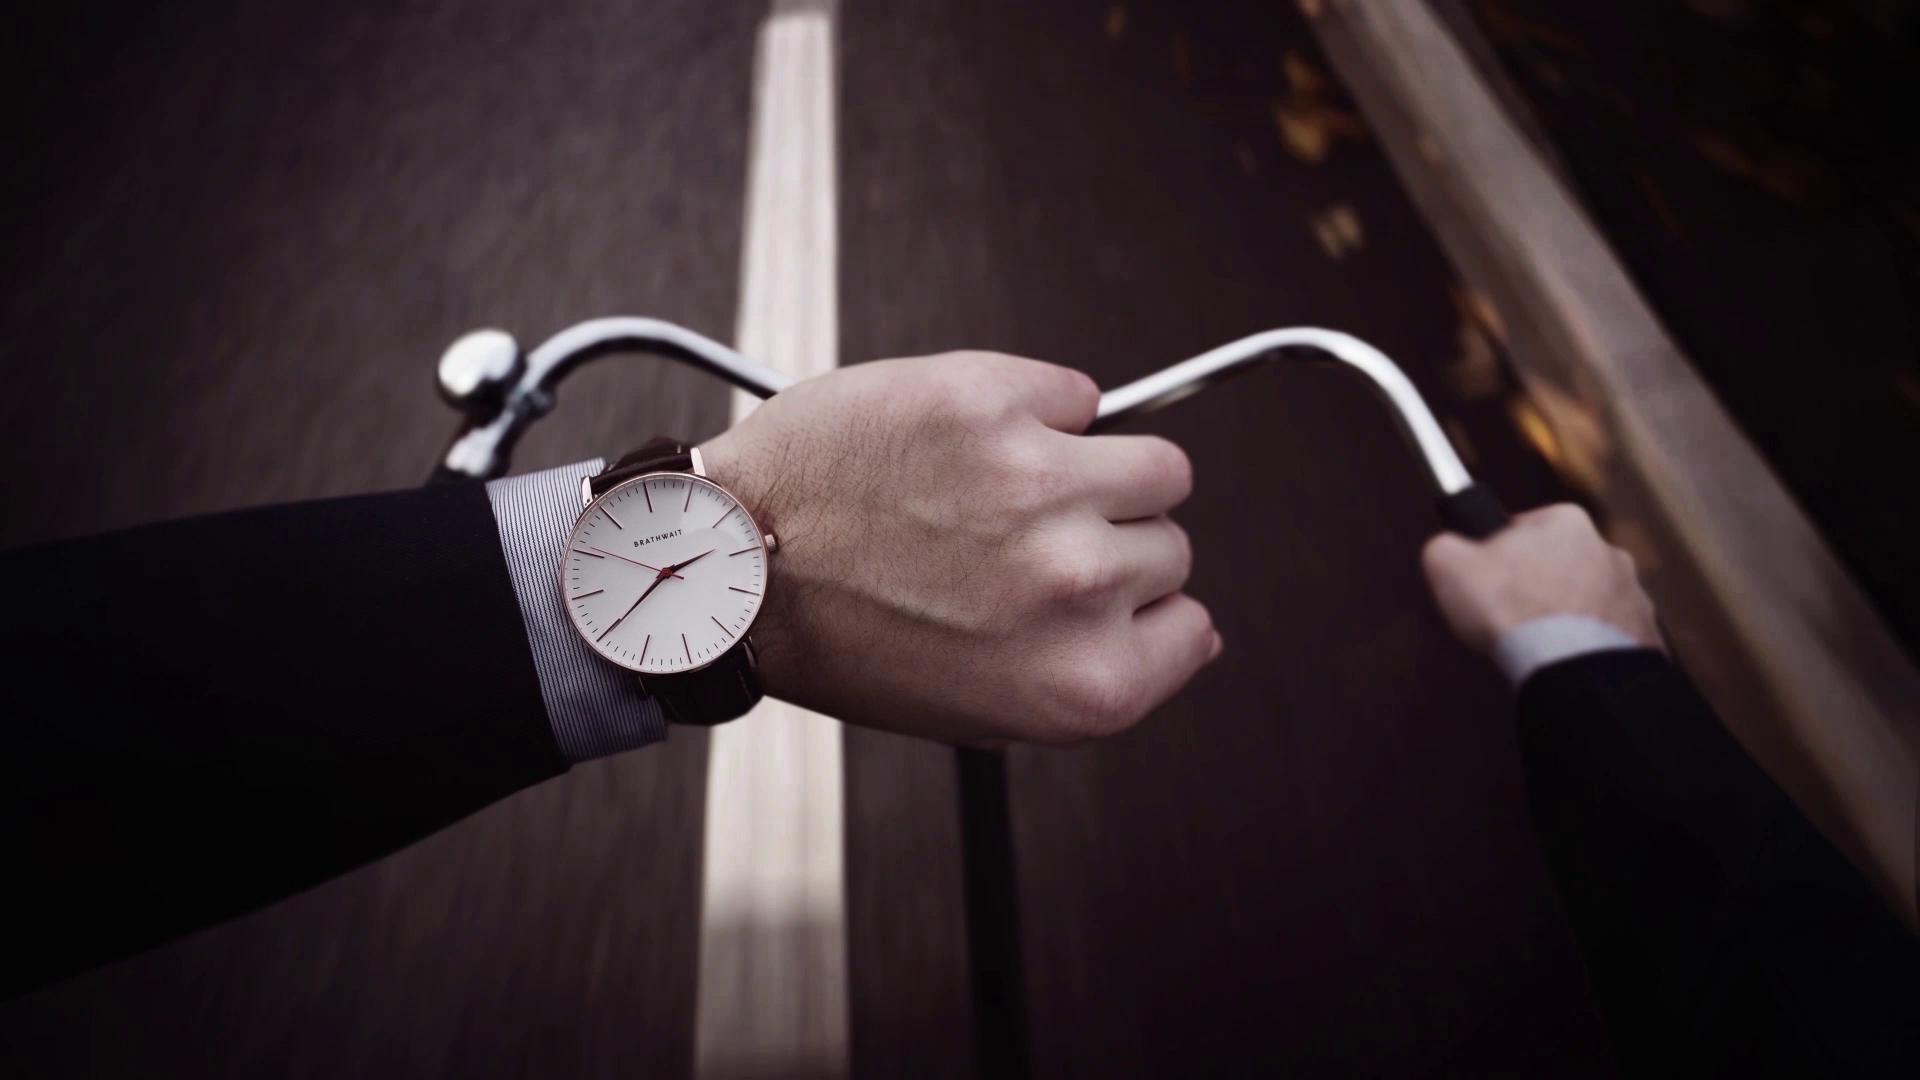
My main idea with this image, was to imitate a situation where a cyclist is looking at his watch during his bike ride. To achieve this look, I wanted the bicycle and cyclist to be completely still, while the road beneath them was moving in an endless loop.
My first thought was to attach a camera to the cyclist’s head, and let him drive… but I gave up this idea very fast because there is no way someone could drive and hold his hand up in a such a stable way!
STEP 2. PLAN SOME MORE
I decided to create this Cinemagraph with a combination of two different shots. One, the video of the moving road, and the other, a photo of a cyclist looking down at his watch.
STEP 3. THINK ABOUT THE LOOP
There are three kinds of loops:
- Bouncing loop
- Repeating loop
- Repeating loop with crossfade
My hope was to find some road markings that would appear in a constant interval so I could use them to sew a start and end together in an endless loop. In order to create this effect, I used a repeating loop with a crossfade. The crossfade helped me to hide the “jump” in the loop.
STEP 4. SHOOT
Now, I needed to figure out how to film a road so that the footage would be very stable. At first, we had an idea to rent a Gimbal Stabilizer, but it felt dangerous to run with it on a motorway. So, instead of using a stabilizer, I decided to mount my camera on the back of my friend’s car. As we didn’t have a special car mount, we used a regular tripod and duct taped it onto the roof rack. TIP: avoid this method if possible. It’s not the most secure way of doing this, so I recommend to find a suitable camera car mount for the job.

My Sony a7rii was connected over wifi to my tablet so I could easily control my camera while we were driving. All of the settings were on manual (this is important, there should never be anything automatic during shooting Cinemagraphs. I sometimes forget White Balance on auto and that always makes me very sad in Post-production).
On our final image, the watch should be the sharpest thing, so I manually focused to a foreground, using my hand as a guide.
STEP 5. THINK ABOUT THE LOOP DURING THE SHOOT
We were looking for a road with some autumn leaves and distinct road markings, that would help me later combine the footage into an endless loop. We tried to drive at a constant speed and hold the same distance from the curb the whole time.
In a same day we also made photo of a cyclist looking at his watch. It was important to do both shots in similar light conditions so it would be easier to combine them in post-productions.

STEP 6. FIND THE BEST FOOTAGE AND IMAGE
I started with the road footage. I was looking for a section in the video where there was some interesting markings on the road, as well as some leaves, so it wouldn’t be just a plain plank of asphalt. Using a media player, I make marks on paper where in the timeline there could be a potential perfect loop. I used Adobe Bridge to browse my camera raw files to find the best image of the watch and rider.
If you’d like to find out more about the post-production process and how it all came together, you can read the full story including post-production details on my website. You can also see more of my cinemagraphs on my gallereplay profile.
